Your First Web Test
In this tutorial you'll write your very first Serenity BDD test, using JUnit 5 and Selenium. We'll start out simple, then explore some of the features that make Serenity BDD rather special. So let's get started!
Pre-requisites
To run this tutorial, you will need a few things installed on your machine:
- Java: Serenity BDD is a Java library, so you'll need a recent JDK installed. JDK 17 or higher should be fine.
- A Java IDE: You'll also need a Java Development Environment such as IntelliJ or Eclipse (and a working knowledge of Java).
- Git: We'll be using a starter project on Github, and the sample code for this project lives on Github too, so I'll be assuming you have a basic understanding of Git.
Creating Your First Serenity BDD Project
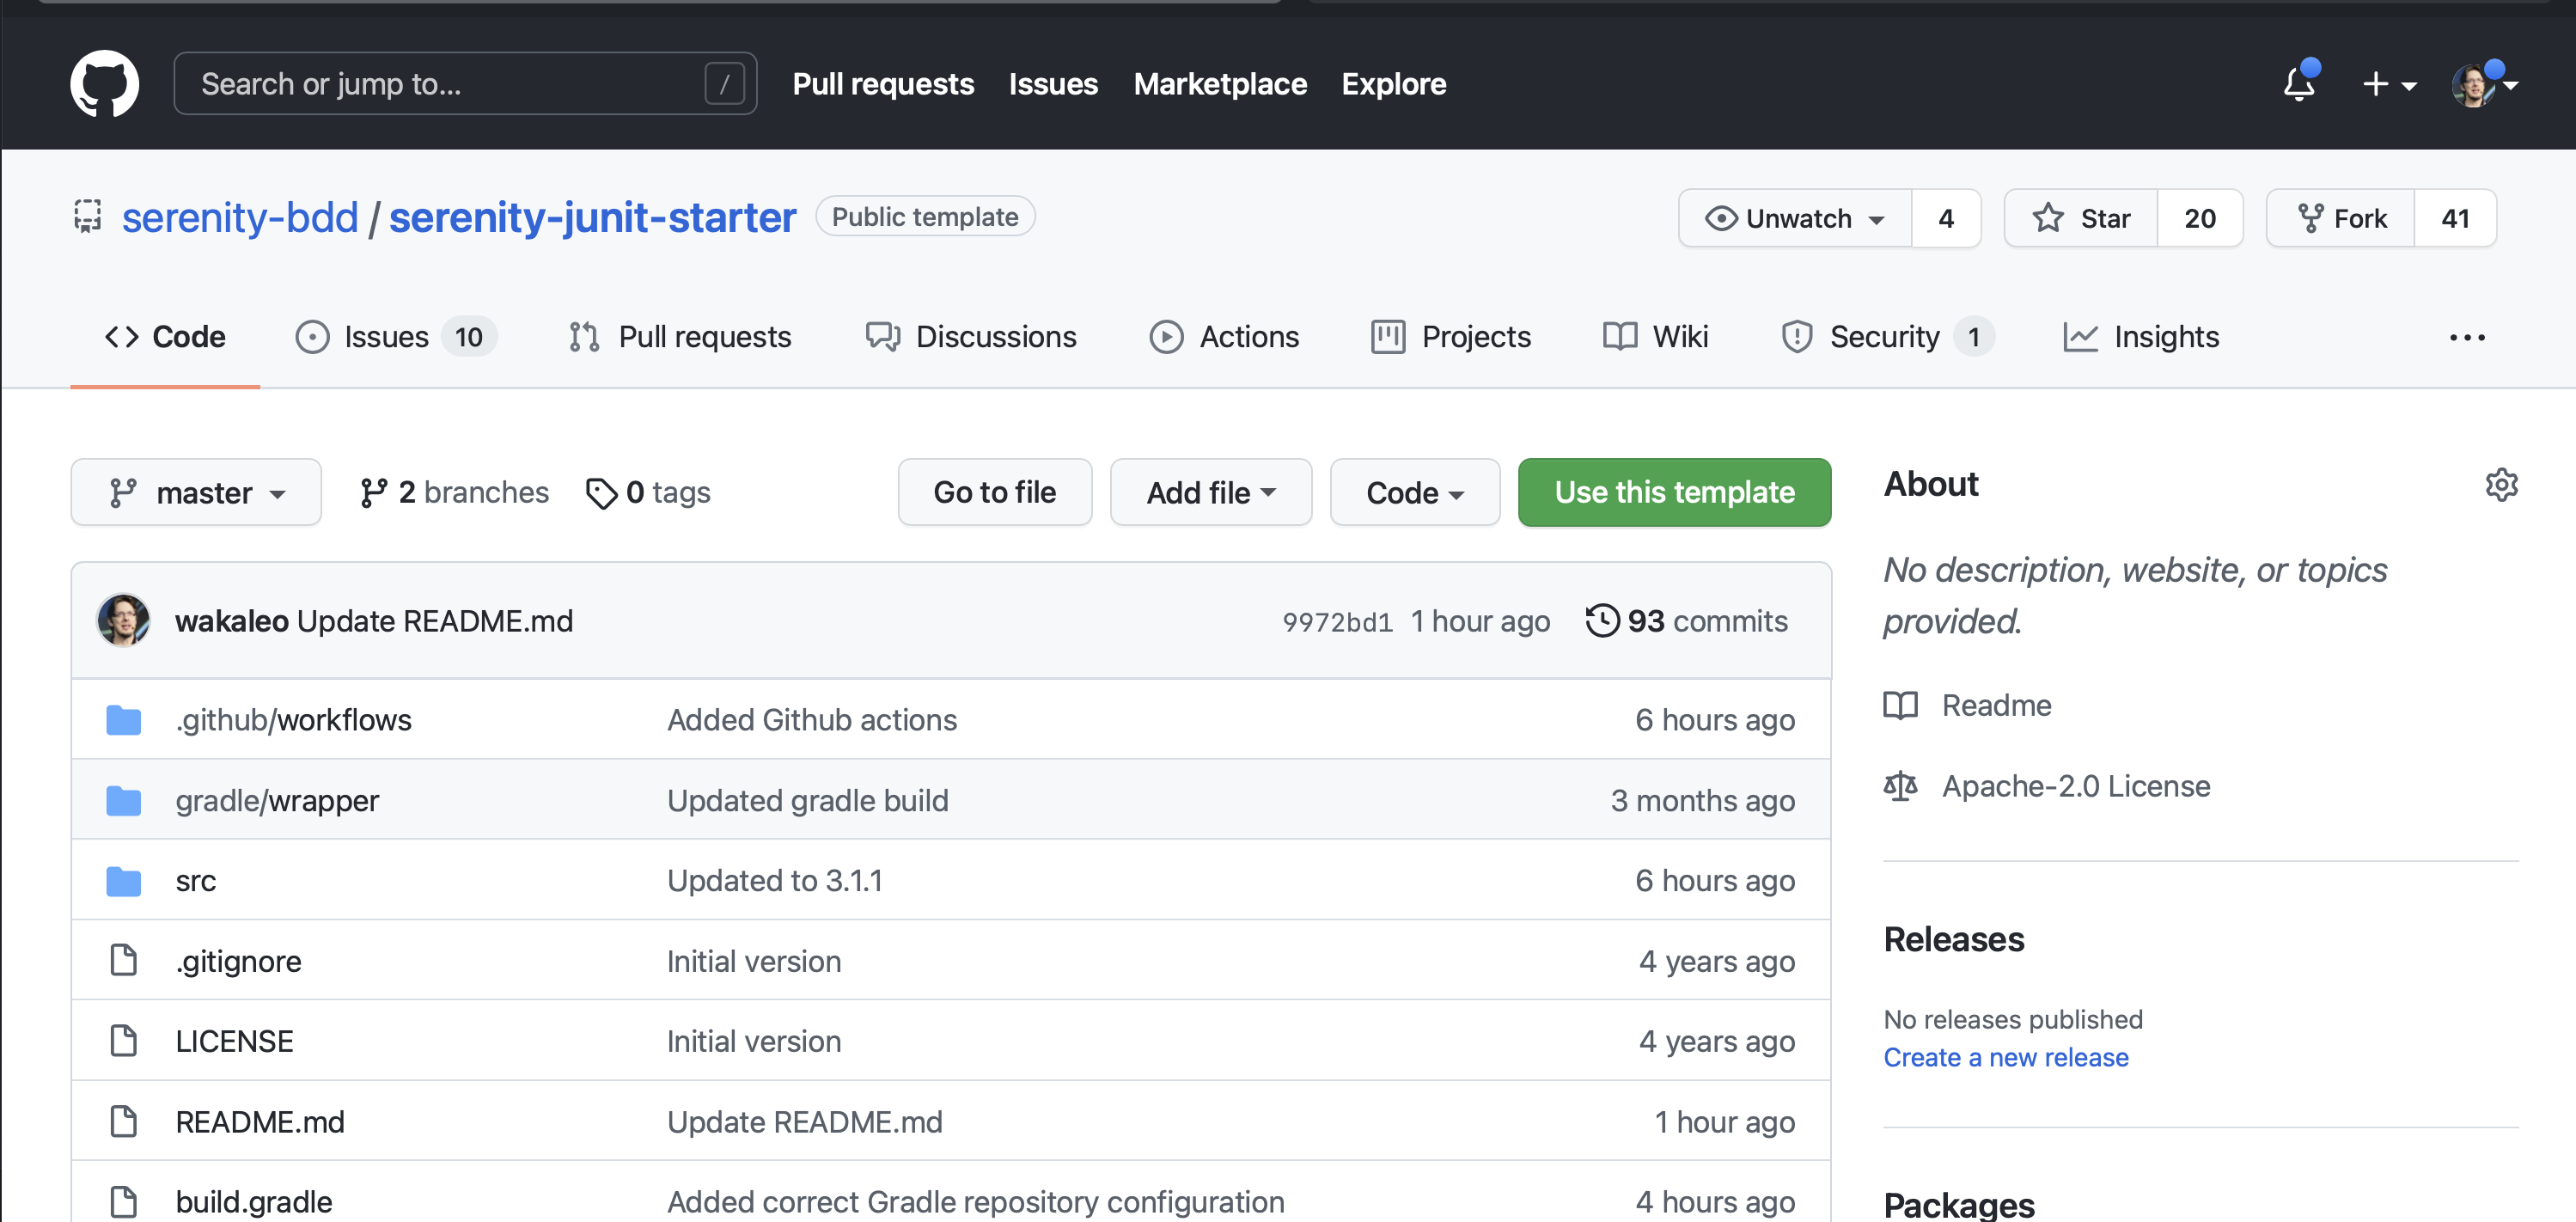
We will be using the Serenity BDD with JUnit template project to get a simple project up and running quickly.
We'll be using a fairly conventional test automation style in this tutorial, using action classes and page objects. In the next tutorial, we'll see how to do all this using the Screenplay Pattern.
Go to the project template page on Github and click on Use This Template.
Writing a simple test
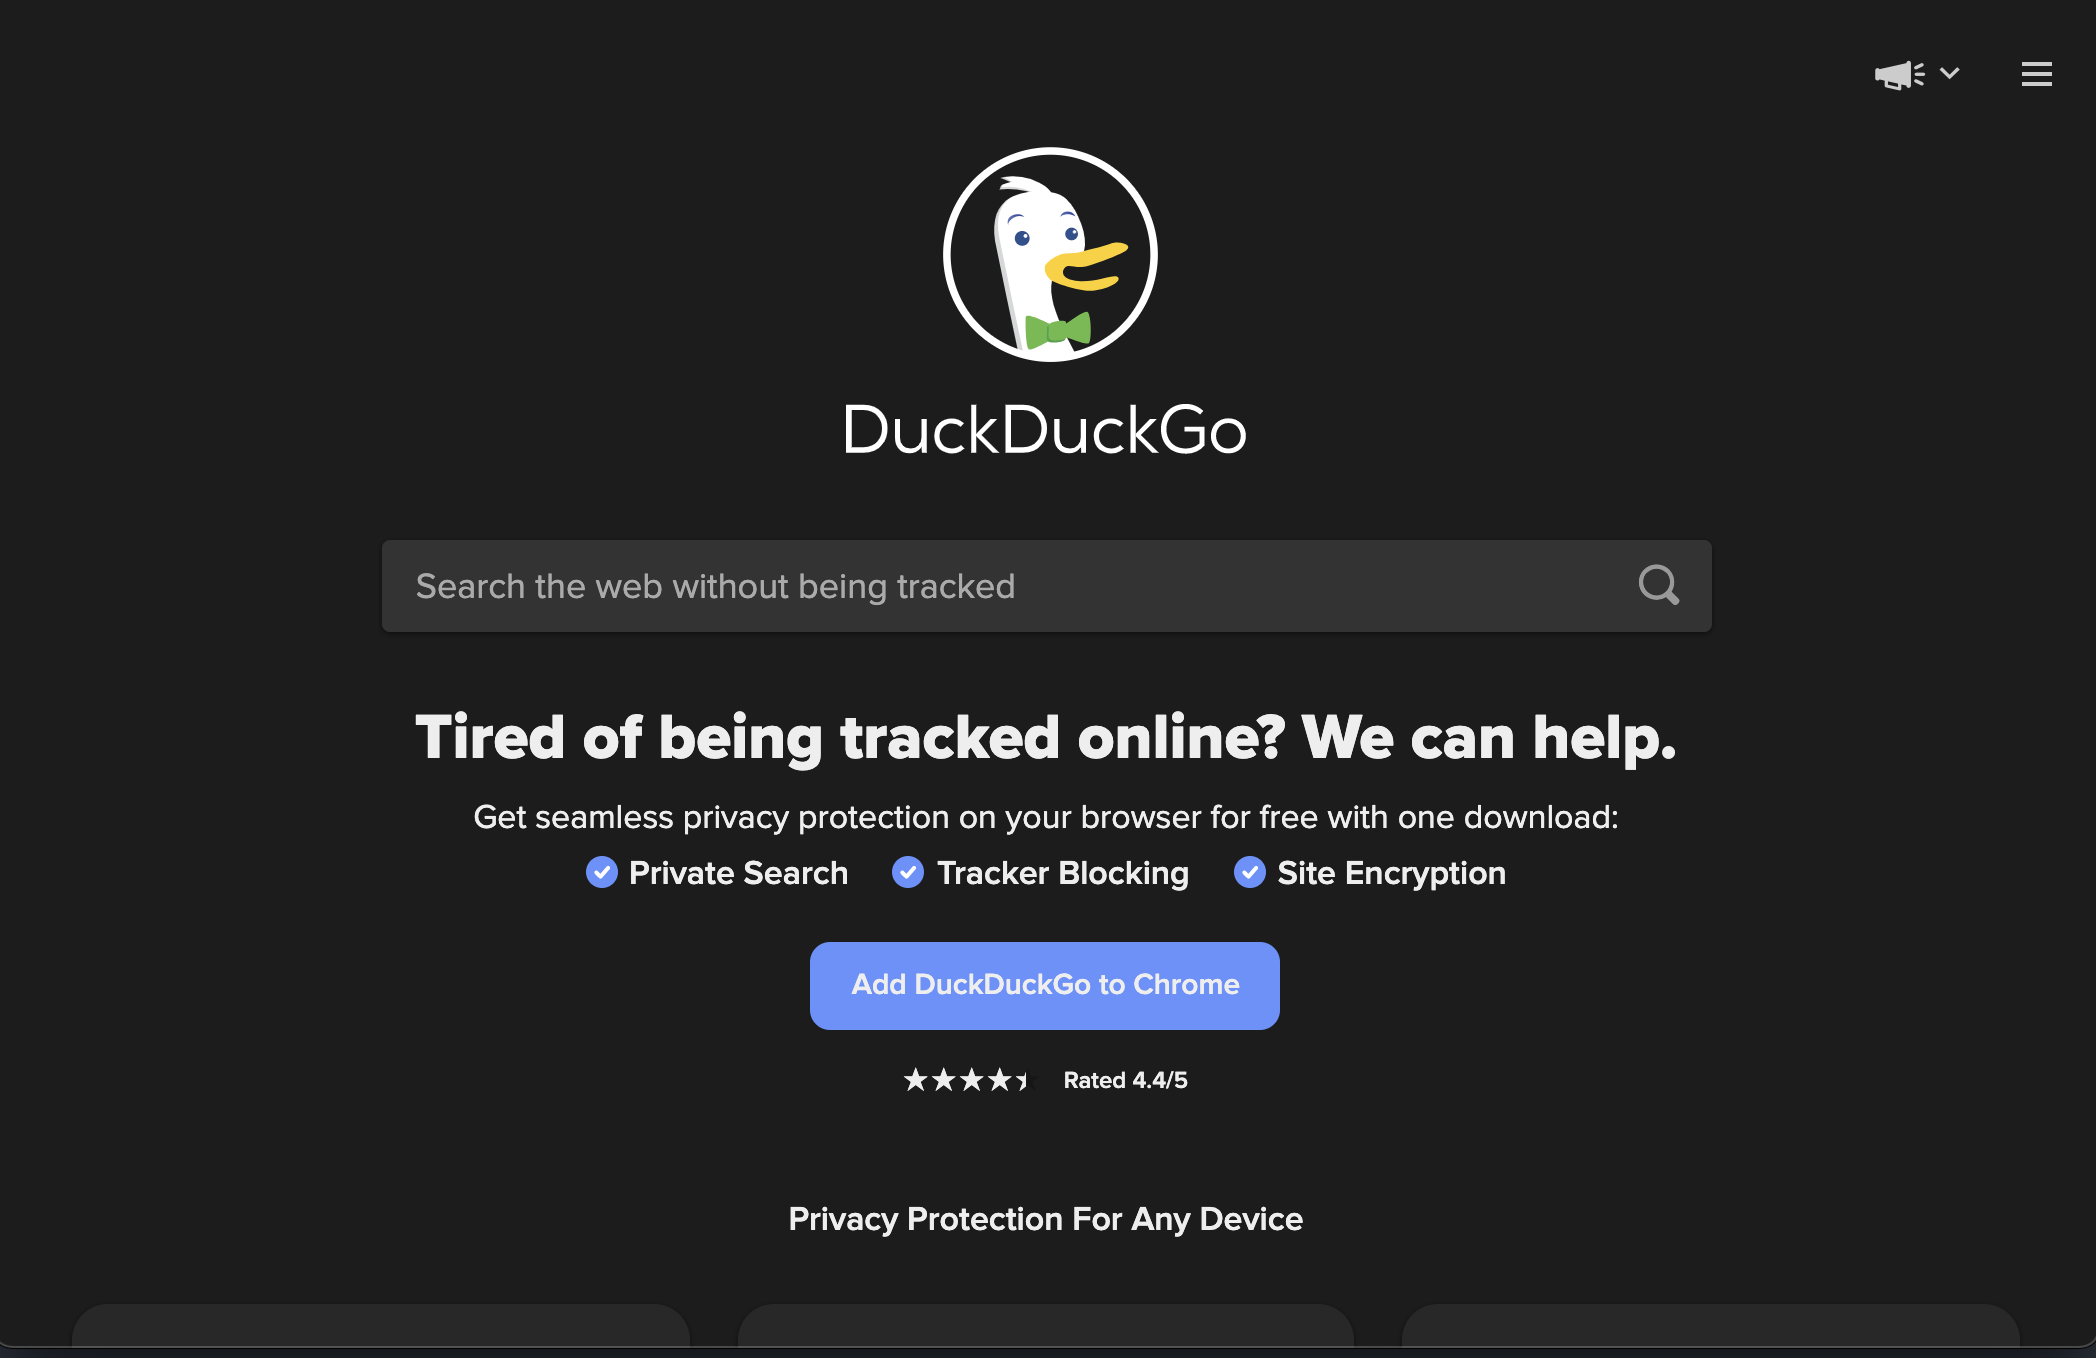
Let's start with a simple test. We will run a simple search for the keyword "Cucumber" on the DuckDuckGo search engine:
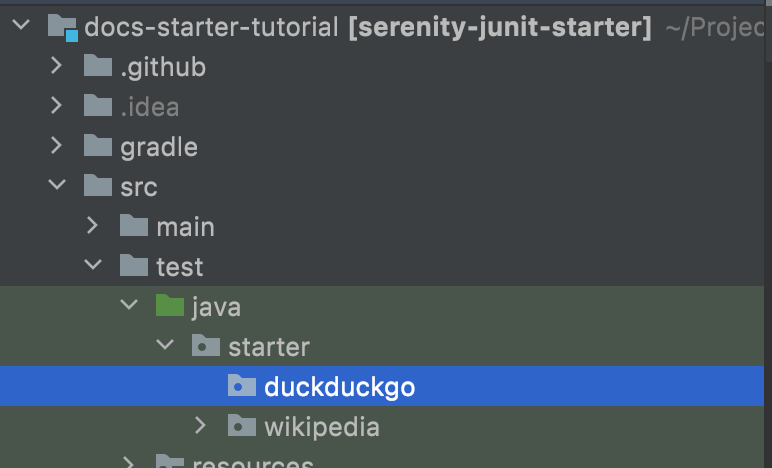
First of all, we create a new package for our DuckDuckGo tests. The Serenity test reports mirror the directory structure we use to organize our tests, so it helps to make the structure and the package name meaningful.
Basic test structure
Now we create a new test class (let's call it "WhenSearchingByKeyword"), and an empty test case (we can call it "theKeywordShouldAppearInTheResultsSidebar").
package starter.duckduckgo;

import net.serenitybdd.junit5.SerenityJUnit5Extension;
import org.junit.jupiter.api.Test;
import org.junit.jupiter.api.extension.ExtendWith;

@ExtendWith(SerenityJUnit5Extension.class)
class WhenSearchingByKeyword {

    @Test
    void theKeywordShouldAppearInTheResultsSidebar() {

    }
}
There are a few things to note here:
- The
@ExtendWithannotation tells JUnit that this test uses Serenity - don't forget this annotation or your test won't be recognised as a Serenity test - The
@Testannotation uses theorg.junit.jupiter.api.Testclass, from JUnit 5. Be careful not to get this mixed up with the JUnit 4 annotation of the same name (org.junit.Test), otherwise your test won't run.
Setting up WebDriver
Next, let's add the code Serenity will need to work. First of all, since this will be a web test, we need to add a WebDriver field. Serenity manages the WebDriver lifecycle for us (it even downloads the WebDriver binaries for us), so all we need to do is to declare a WebDriver field, and annotate it with the @Managed annotation. In the code below, I've also added the driver attribute and the options attribute to ensure the browser opens in headless mode:
import net.serenitybdd.annotations.Managed;
import net.serenitybdd.junit5.SerenityJUnit5Extension;
import org.junit.jupiter.api.Test;
import org.junit.jupiter.api.extension.ExtendWith;
import org.openqa.selenium.WebDriver;

@ExtendWith(SerenityJUnit5Extension.class)
class WhenSearchingByKeyword {

    @Managed(driver = "chrome", options = "headless")
    WebDriver driver;

    @Test
    void theKeywordShouldAppearInTheResultsSidebar() {

    }
}
This driver will be used throughout the test, including in any page objects or action classes (more on these later) that are created as part of the test.
Creating Action Classes
We could simply start using this driver variable to interact with the browser. That would work fine. But keeping your test code well organised and well structured is essential to keeping maintenance costs down. And Serenity BDD gives us a number of ways to do this.
One of the simplest ways to do this is called Action Classes. Action Classes are small, reusable classes with methods that encapsulate key user actions.
For example, we could break this test down into three steps:
- Navigate to the DuckDuckGo home page
- Search by the keyword "Cucumber"
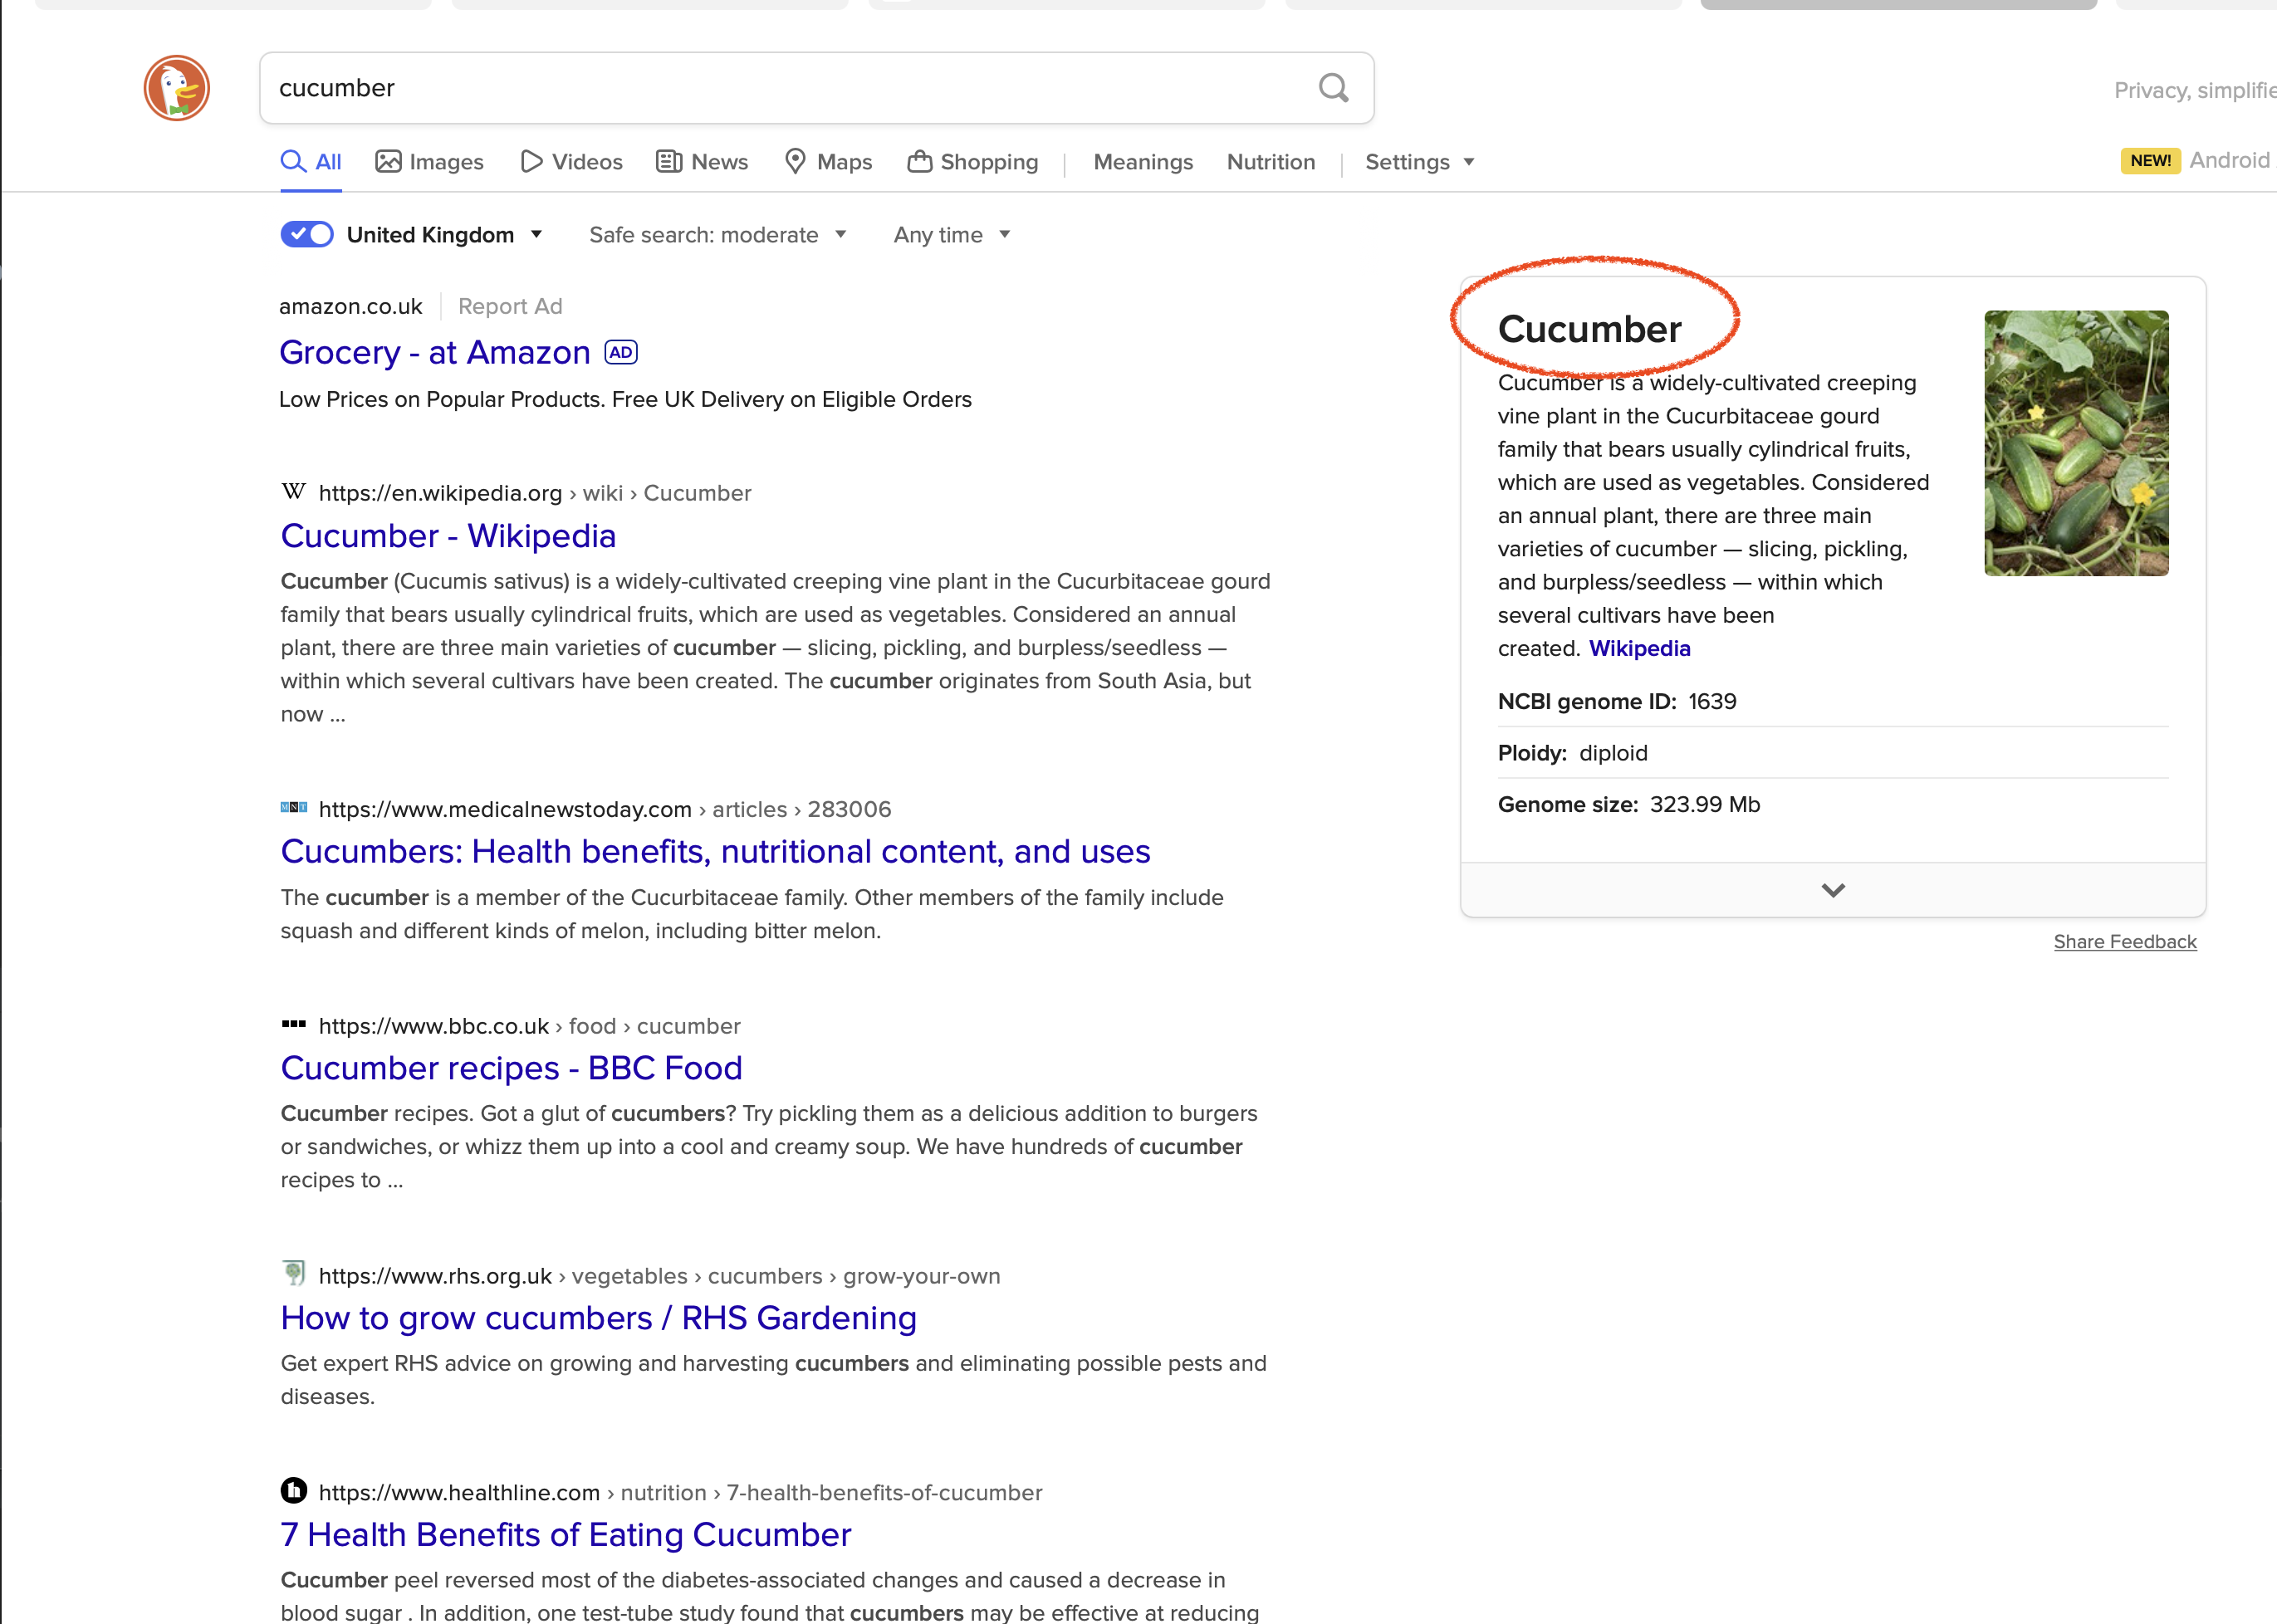
- Check that the main topic heading on the result page is "Cucumber"
Let's start with the first action: navigating to the DuckDuckGo home page. Create a new class called NavigateActions in the same package and add the following:
import net.serenitybdd.core.steps.UIInteractions;

public class NavigateActions extends UIInteractions {
    public void toTheDuckDuckGoSearchPage() {
        openUrl("https://duckduckgo.com/");
    }
}
A UI Interactions class is a class containing methods that can interact with a web page. When we extend the UIInteractions class, Serenity will automatically inject the @Managed WebDriver instance we saw earlier whenever we use an instance of this class in our tests.
The UIInteractions class gives you access to a range of methods that you can use to interact with the page. For example, as we can see in this example, the openUrl() method is used to open a page at a specified URL.
Next, let's move on to the second action, where we need to search for a specific term. Create a new class called SearchActions, and make it extend the UIInteractions class.
import net.serenitybdd.core.steps.UIInteractions;

public class SearchActions extends UIInteractions {}
Now add a method to search by a given keyword, called byKeyword, which will do the actual search. Inside this method, we can use the $ notation to search for elements on the page using CSS or XPath locators, like this:
import net.serenitybdd.core.steps.UIInteractions;
import org.openqa.selenium.Keys;

public class SearchActions extends UIInteractions {
    public void byKeyword(String keyword) {
      $("#searchbox_input").sendKeys(keyword, Keys.ENTER);
    }
}
Creating a Page Component class
The third step of our test is to read the title of the search results sidebar and check that it is the value we expect.
We can do this with a Page Component object. Page Components (which extend the PageComponent class) are similar to action classes, but focus on reading information from a particular part of a web page, rather than modeling user interactions.
To read the title of the sidebar on this screen, create a new class called SearchResultSidebar with the following code:
import net.serenitybdd.core.pages.PageComponent;

public class SearchResultSidebar extends PageComponent {
    public String heading() {
        return $("[data-testid=about] h2").getText();
    }
}
Once again we are locating the element using the $ operator and a CSS selector, and returning the text value of the element we find.
Using Action Classes and Page Components In The Test
Now that we've created action classes for the first two steps, let's add them to our test. Serenity recognises action classes and page component objects and instantiates them automatically with the @Managed WebDriver instance, so we simply need to declare them as class fields, and then use them in our test.
import net.serenitybdd.junit5.SerenityJUnit5Extension;
import org.junit.jupiter.api.Test;
import net.thucydides.core.annotations.Managed;
import org.junit.jupiter.api.extension.ExtendWith;
import org.openqa.selenium.WebDriver;
import static org.assertj.core.api.Assertions.assertThat;

@ExtendWith(SerenityJUnit5Extension.class)
class WhenSearchingByKeyword {

    @Managed(driver = "chrome", options = "headless")
    WebDriver driver;

    NavigateActions navigate;
    SearchActions search;
    SearchResultSidebar searchResultSidebar;

    @Test
    void theKeywordShouldAppearInTheResultsSidebar() {
        navigate.toTheDuckDuckGoSearchPage();
        search.byKeyword("Cucumber");
        assertThat(searchResultSidebar.heading()).isEqualTo("Cucumber");
    }
}
Reporting the steps
We now have a working test. You can run it from within your IDE, or by running mvn verify on the command line.
However, there is one more step we can do. Serenity BDD is a living documentation tool, which means it aims to document not only what tests are executed, but how they are executed.
We can control how Serenity reports each method in a UIInteractions class using the @Step annotation. When you place a @Step annotation on a UIInteractions method, this method will appear in the Serenity reports whenever it is called.
Let's see how it works. Update the NaviagateActions and SearchActions classes to include the @Step annotations like this:
import net.serenitybdd.annotations.Step;
import net.serenitybdd.core.steps.UIInteractions;

public class NavigateActions extends UIInteractions {
    @Step("Navigate to the home page")
    public void toTheDuckDuckGoSearchPage() {
        openUrl("https://duckduckgo.com/");
    }
}
import net.serenitybdd.annotations.Step;
import net.serenitybdd.core.steps.UIInteractions;
import org.openqa.selenium.Keys;

public class SearchActions extends UIInteractions {

    @Step("Search for '{0}'")
    public void byKeyword(String keyword) {
      $("#searchbox_input").sendKeys(keyword, Keys.ENTER);
    }
}
Reporting on assertions
The last step of our test is an assertion. We can report on the assertion by wrapping it in the Serenity.reportThat() method, using a Lambda expression for the actual assertion:
@Test
void theKeywordShouldAppearInTheResultsSidebar() {
    navigate.toTheDuckDuckGoSearchPage();
    search.byKeyword("Cucumber");

    Serenity.reportThat("The keyword should appear in the sidebar heading",
            () -> assertThat(searchResultSidebar.heading()).isEqualTo("Cucumber")
    );
}
Generating the reports
Let's run the tests and see what the reports look like. Delete the wikipedia package (we don't need the sample tests anymore), and run mvn verify from the command line. You should see an output along the following lines:
$ mvn verify
...
[INFO]  SERENITY TESTS: SUCCESS
[INFO] -----------------------------------------
[INFO] | Tests executed         | 1
[INFO] | Tests passed           | 1
[INFO] | Tests failed           | 0
[INFO] | Tests with errors      | 0
[INFO] | Tests compromised      | 0
[INFO] | Tests aborted          | 0
[INFO] | Tests pending          | 0
[INFO] | Tests ignored/skipped  | 0
[INFO] ------------------------ | --------------
[INFO] | Total Duration         | 5s 626ms
[INFO] | Fastest test took      | 5s 626ms
[INFO] | Slowest test took      | 5s 626ms
[INFO] -----------------------------------------
[INFO]
[INFO] SERENITY REPORTS
[INFO]   - Full Report: file:///Users/john/Projects/Serenity/serenity-new-documentation/serenity-users-guide/sample-code/docs-starter-tutorial/target/site/serenity/index.html
[INFO]
[INFO] --- maven-failsafe-plugin:3.0.0-M5:verify (default) @ serenity-junit-starter ---
[INFO] ------------------------------------------------------------------------
[INFO] BUILD SUCCESS
[INFO] ------------------------------------------------------------------------
[INFO] Total time:  21.729 s
[INFO] Finished at: 2021-11-30T11:27:29Z
[INFO] ------------------------------------------------------------------------
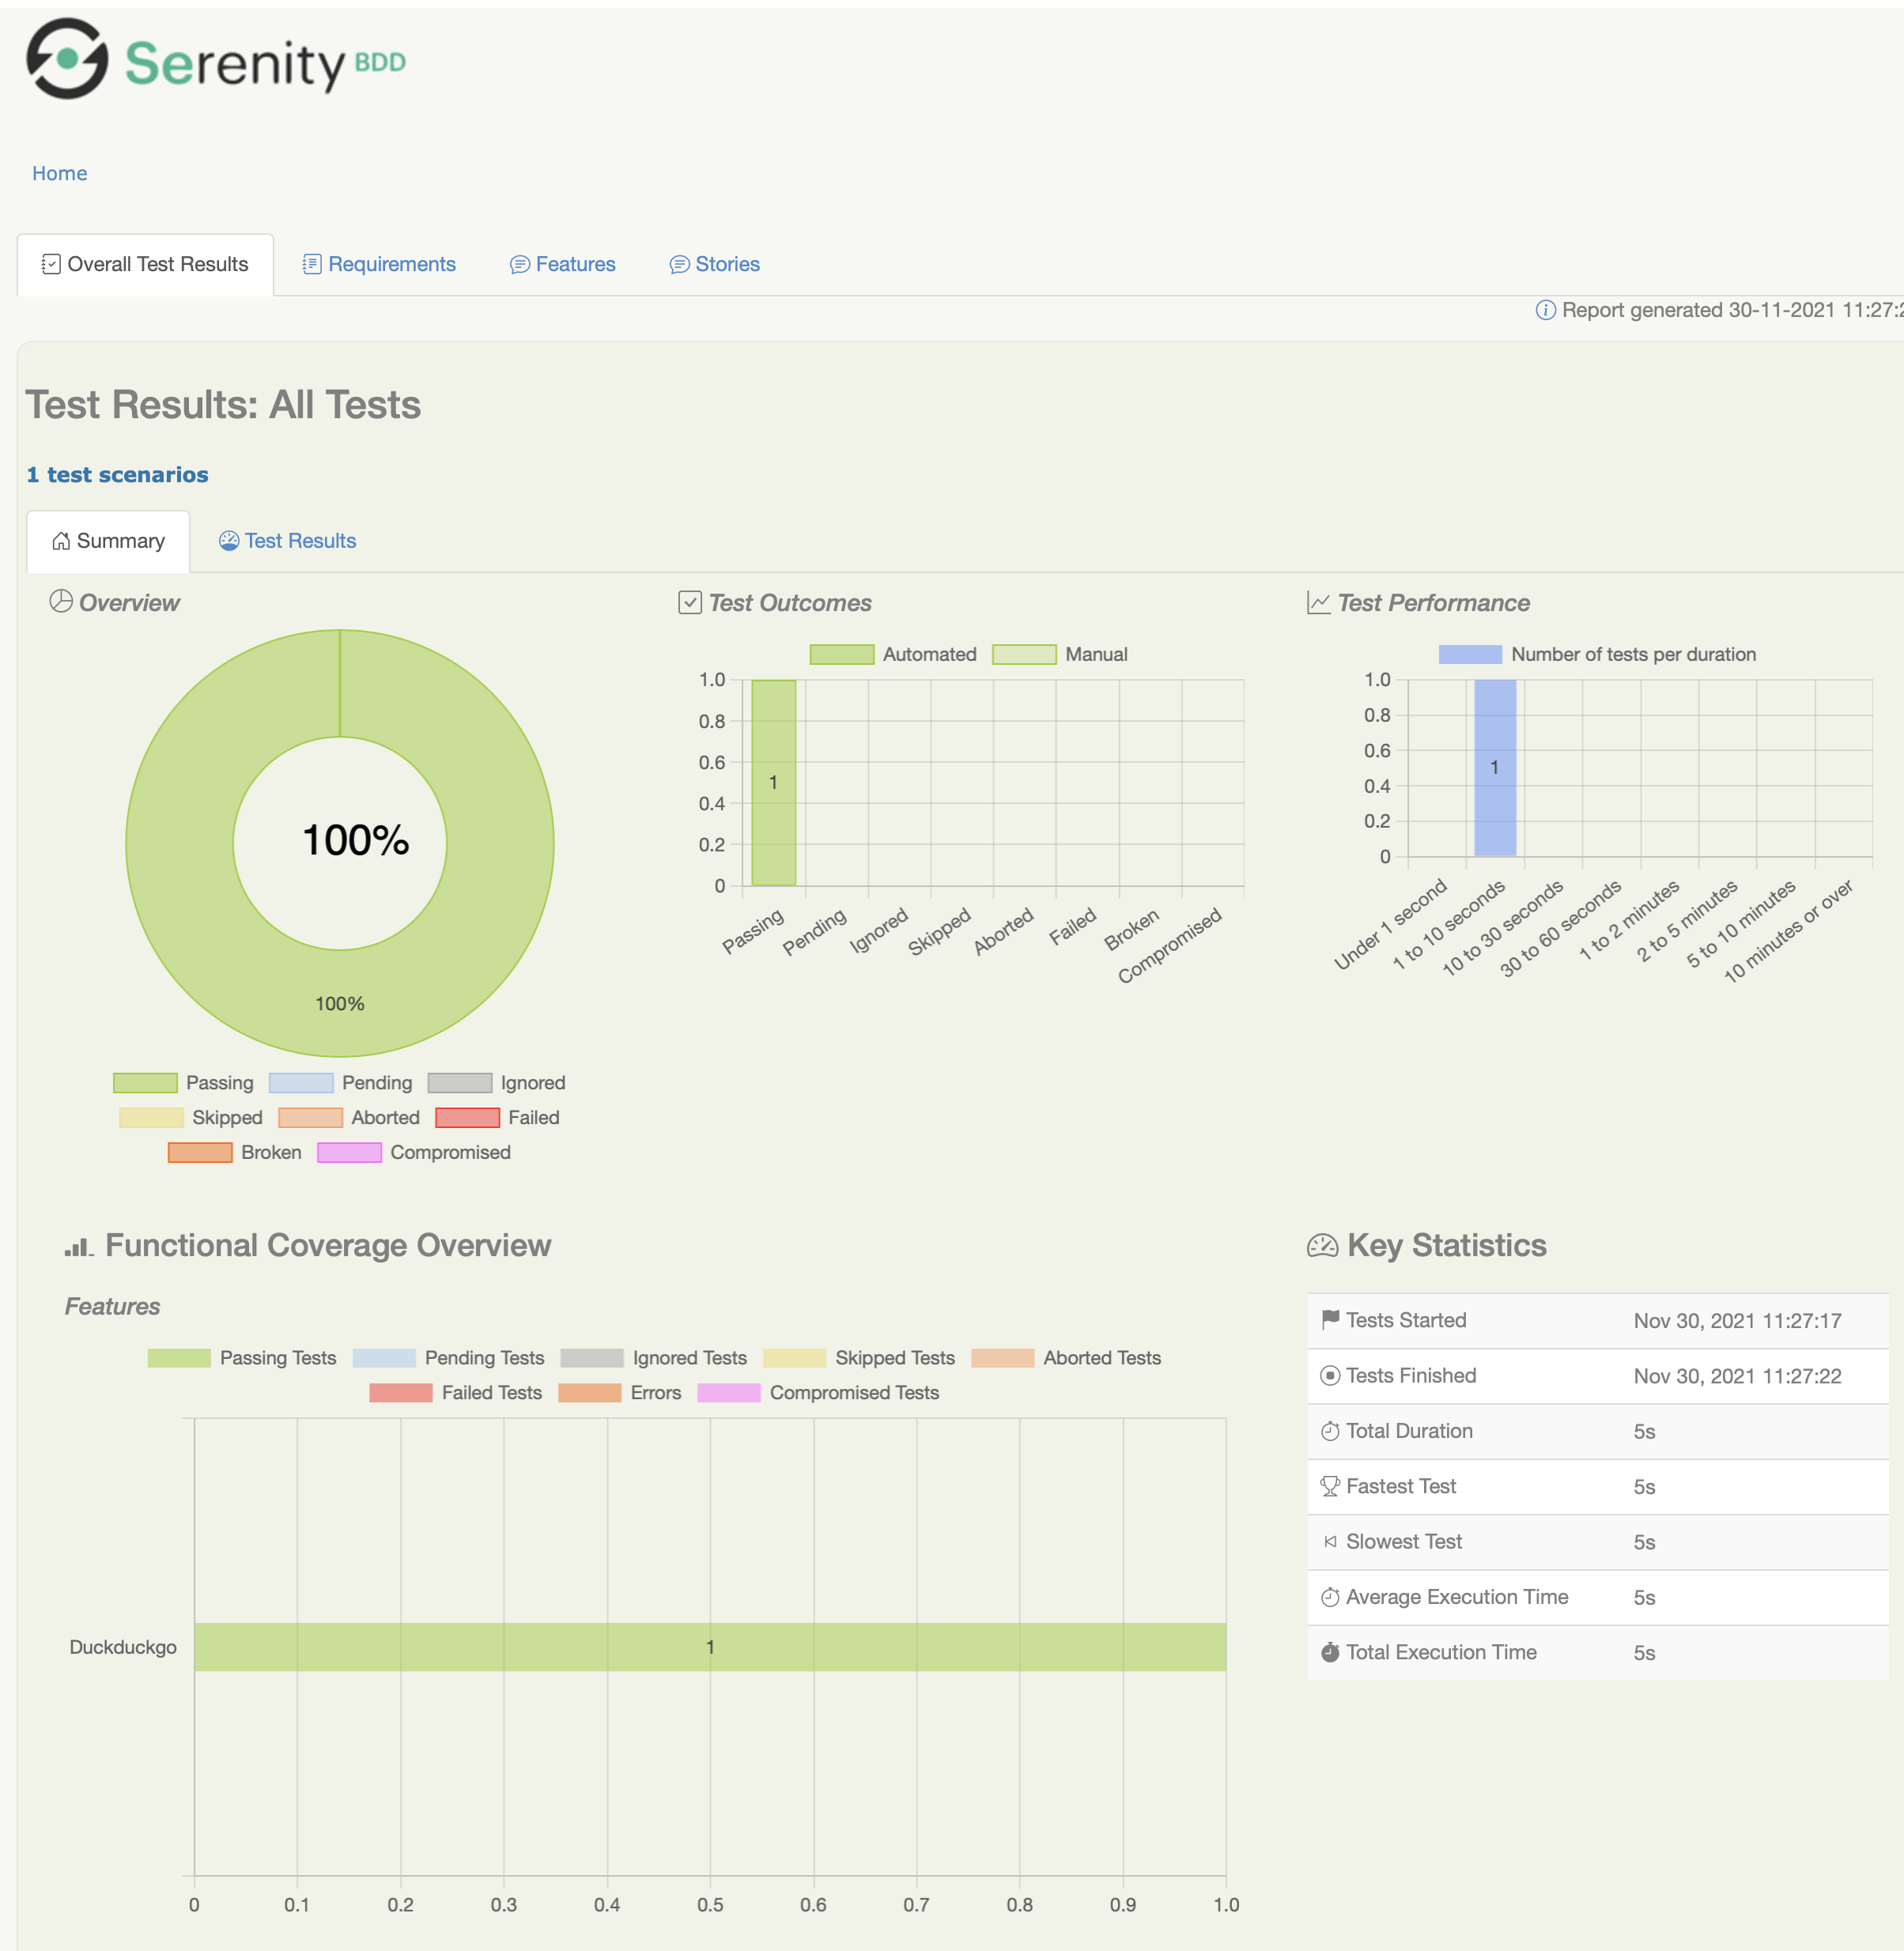
Now open the index.html file in the target/site/serenity directory. You should see something like this:
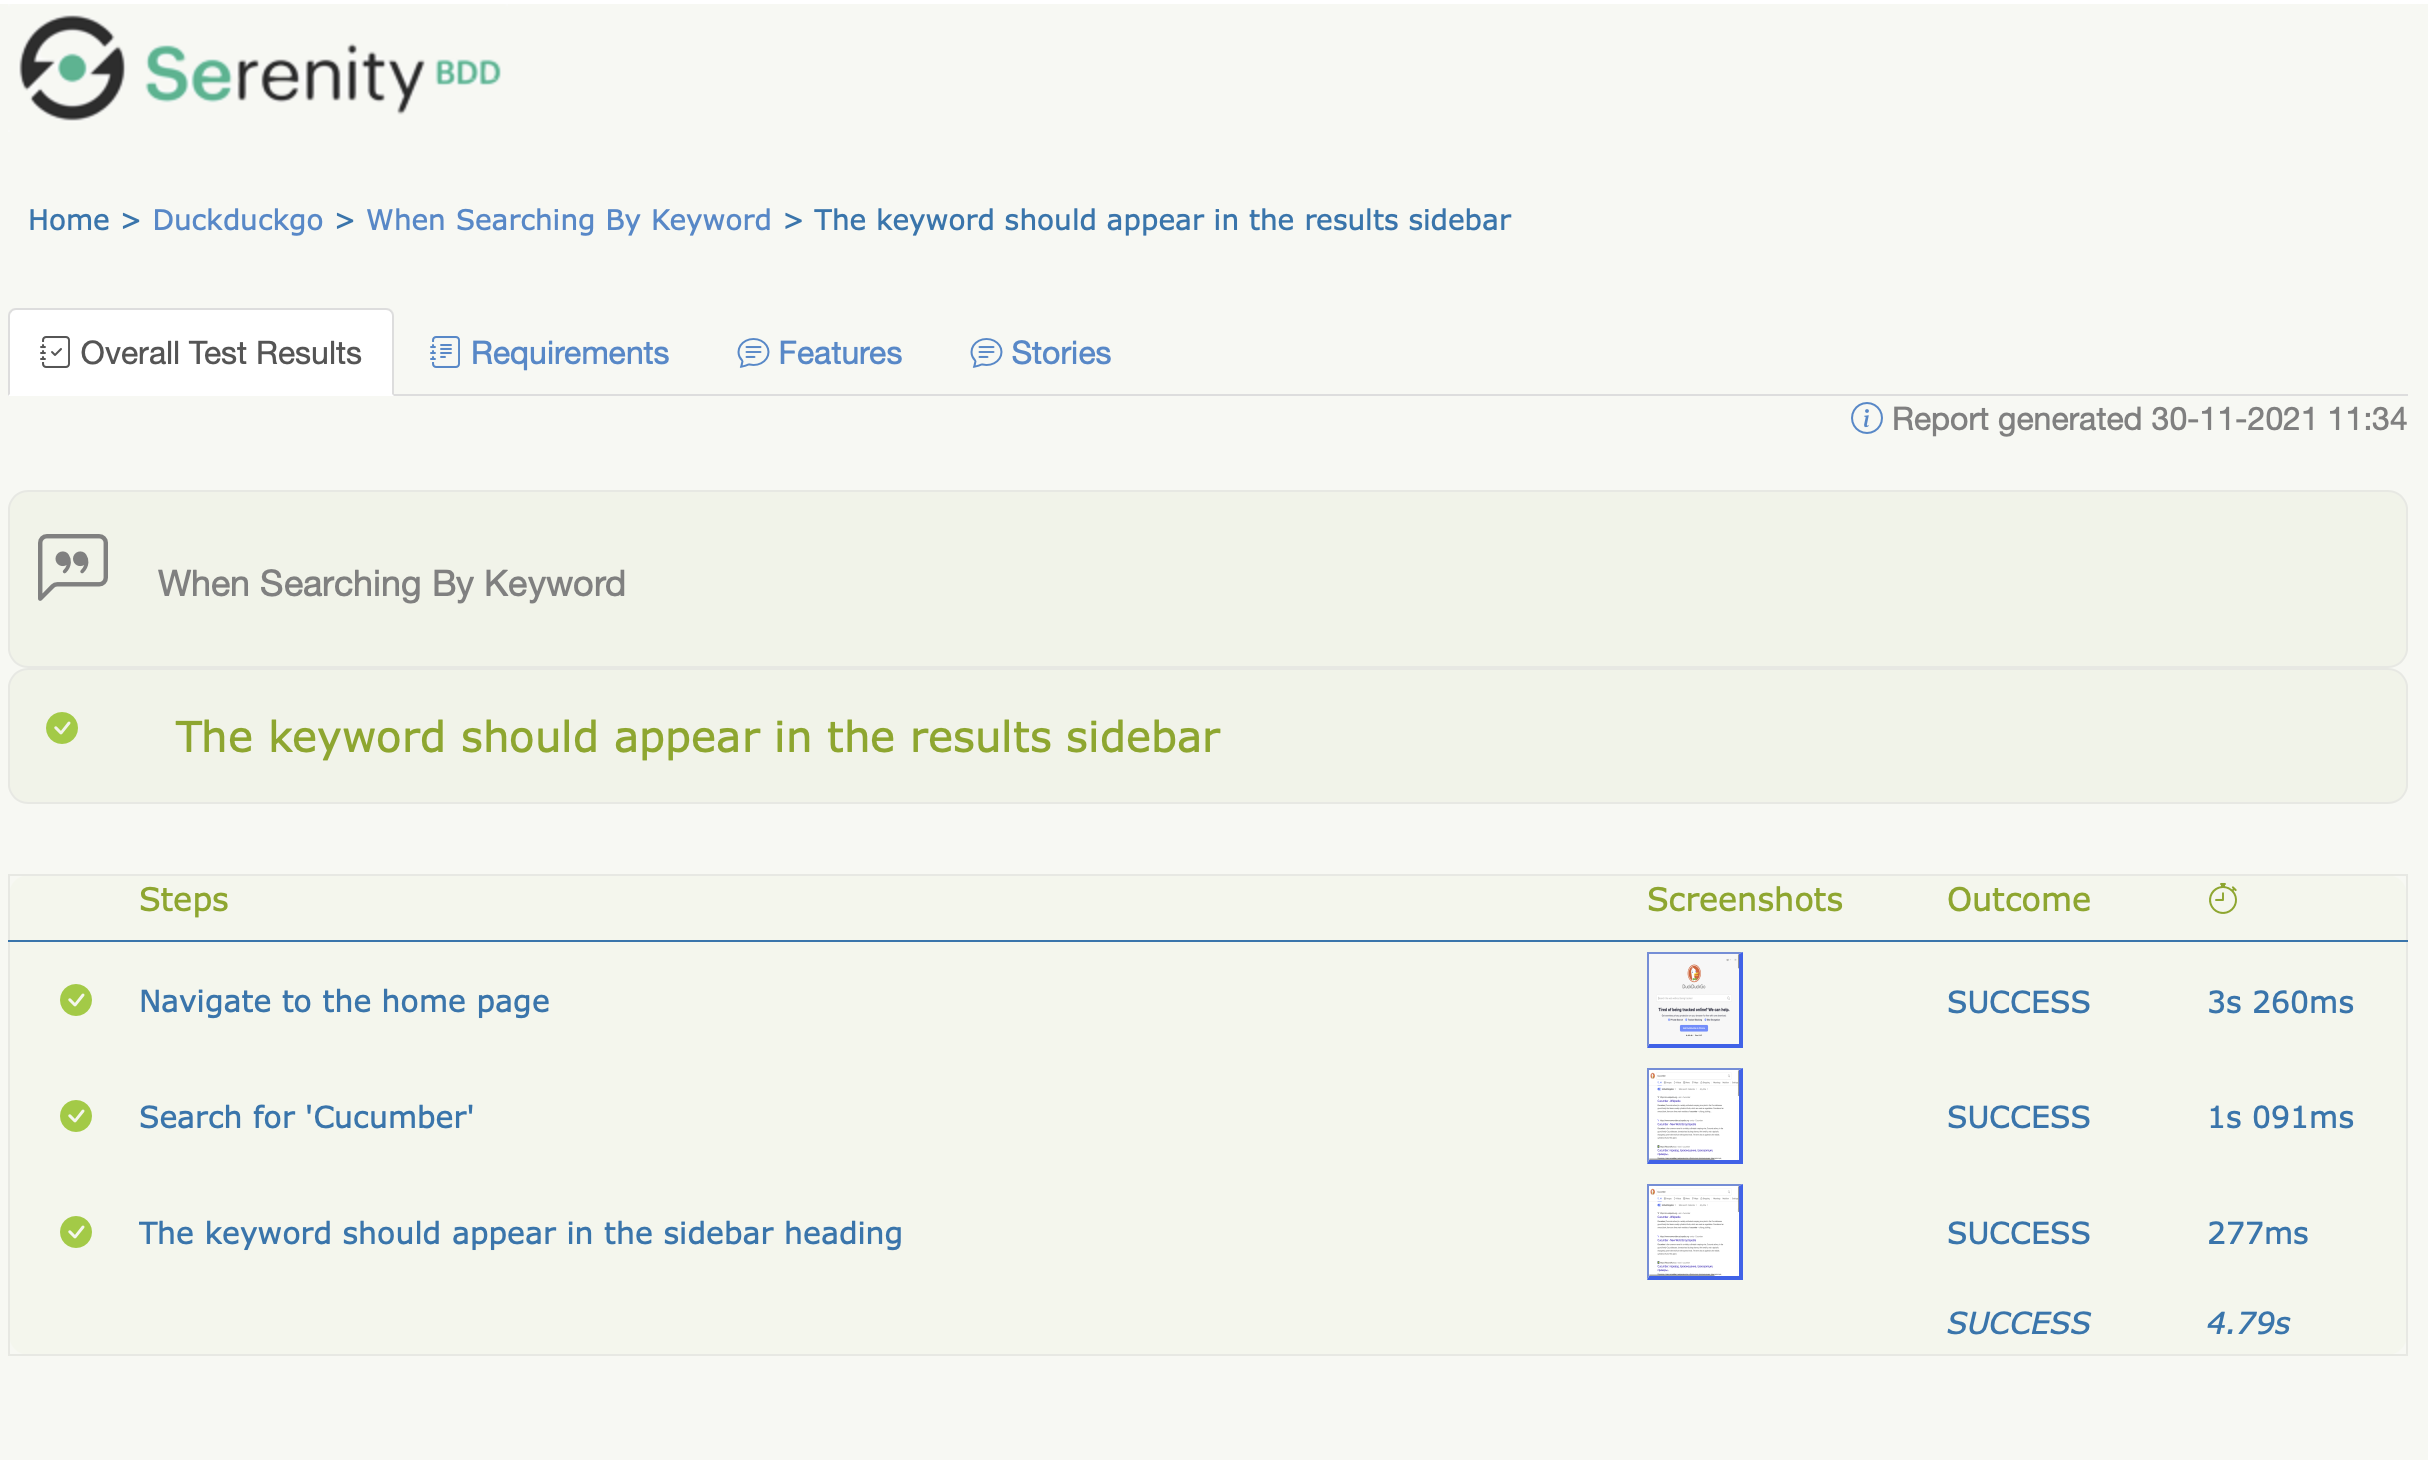
Click on the "Test Results" tab and open the "When Searching By Keyword" scenario. This should show you the step-by-step details of your test:
Conclusion
Congratulation! You've written your first Serenity BDD test, and seen a little of what Serenity BDD can do!